A Step-by-Step Guide to Replacing Your Door Handles
Replacing your door handles is one of the easiest and most affordable ways to refresh your home. Whether you're updating the style, swapping damaged hardware, or matching new décor, the process is straightforward and doesn’t require advanced DIY skills. With a few basic tools and the right handle, you can transform the look and feel of any door in under 30 minutes. Here’s a step-by-step guide to walk you through the process.
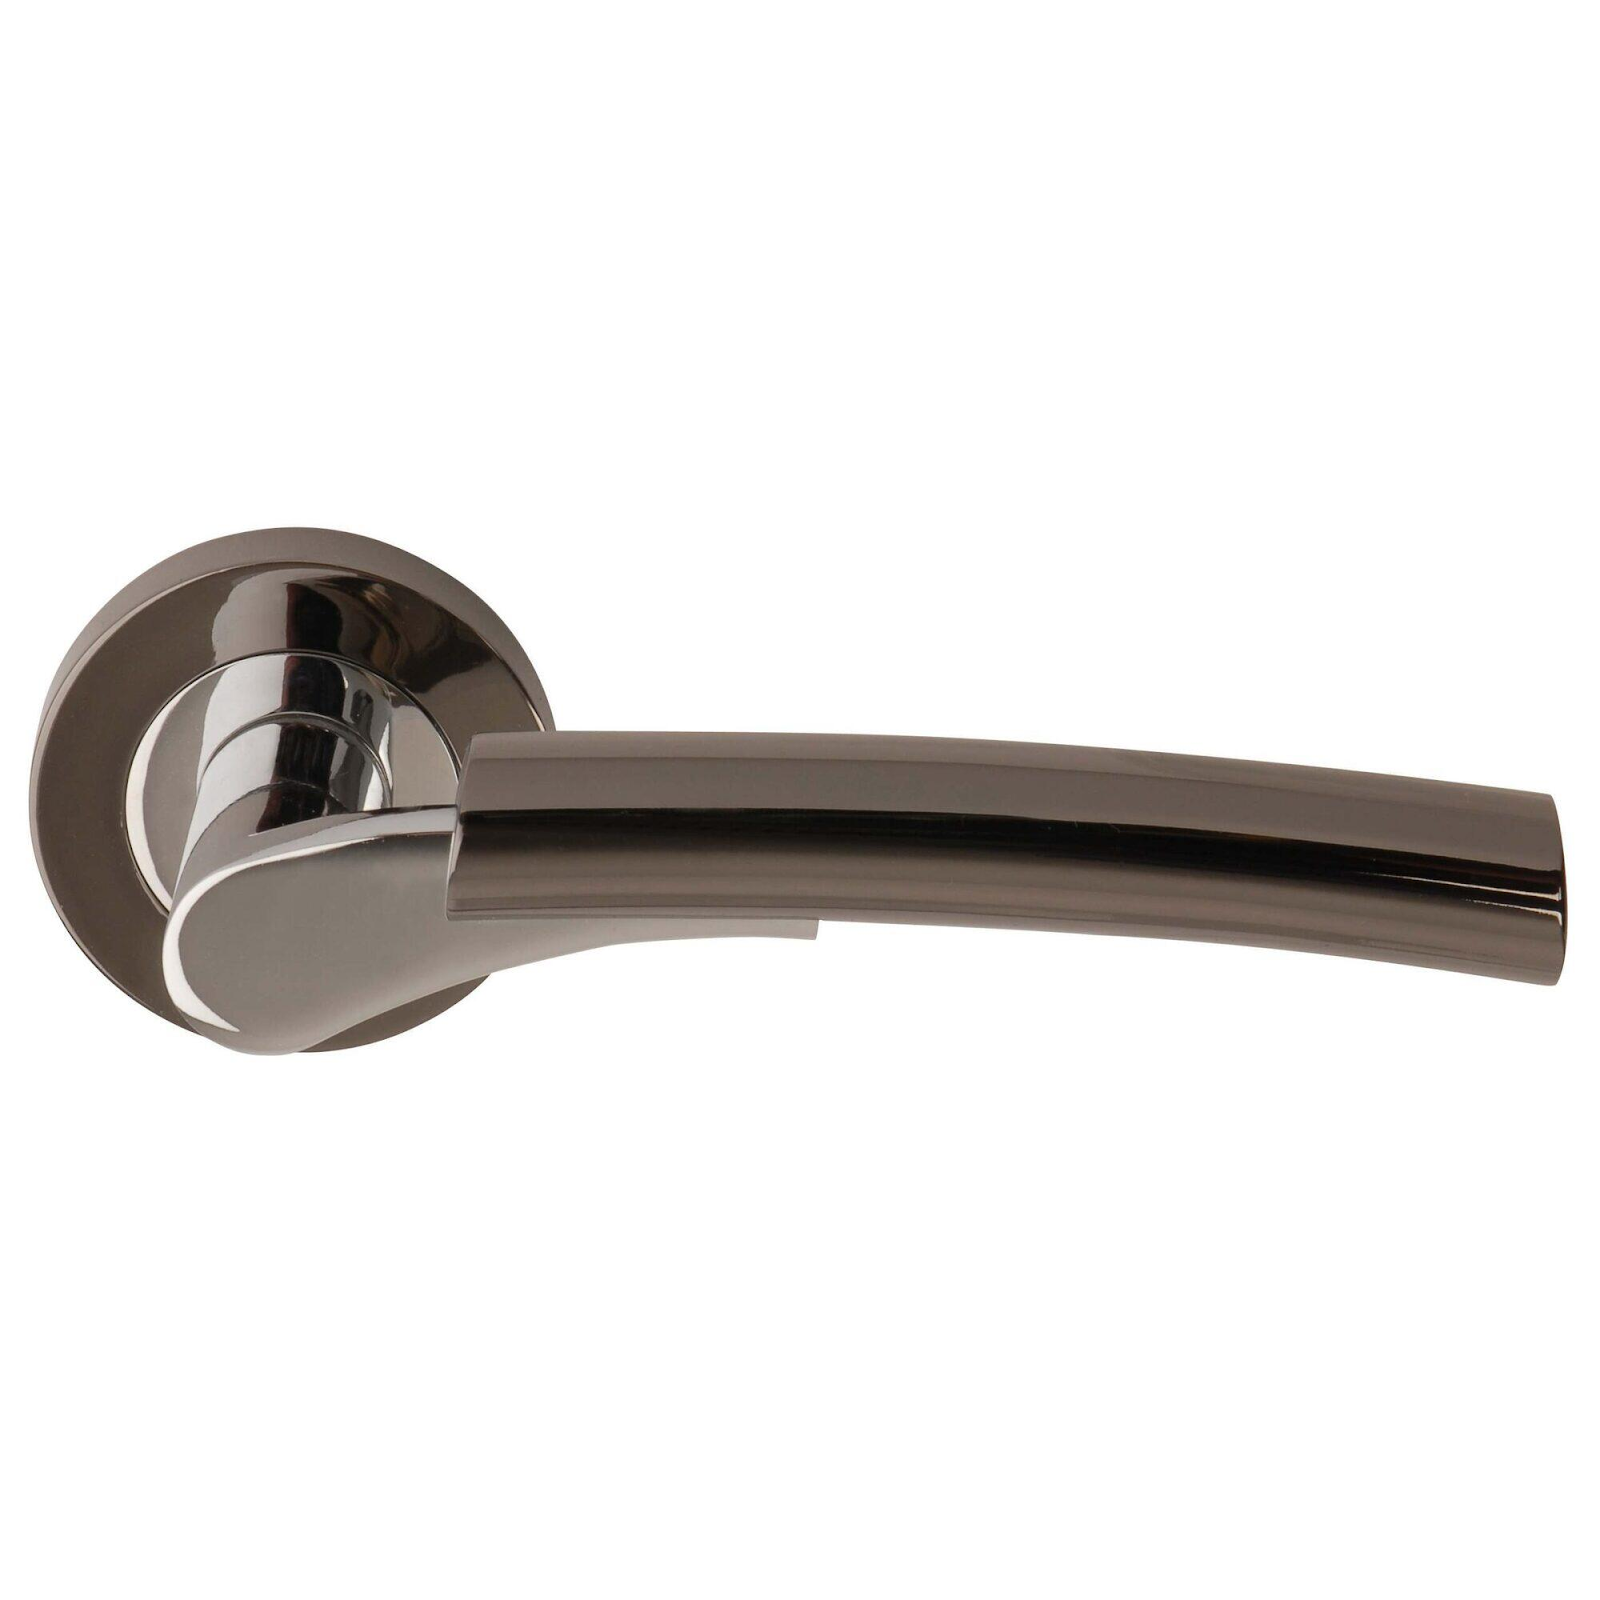
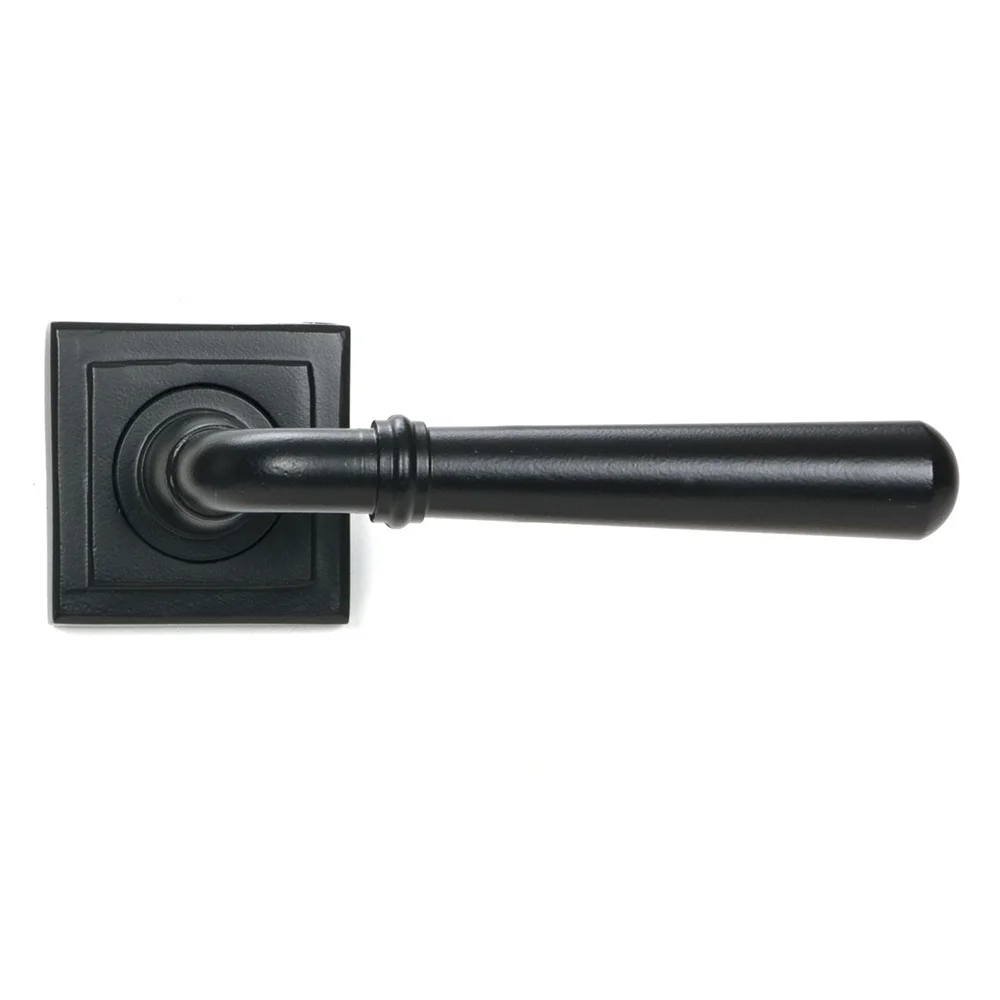
Step 1: Choose the Right Handle
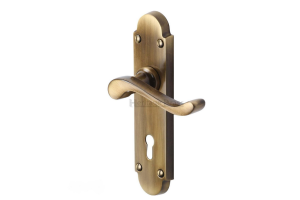
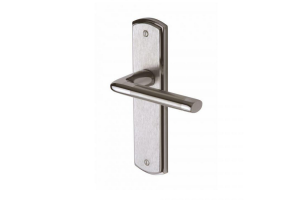
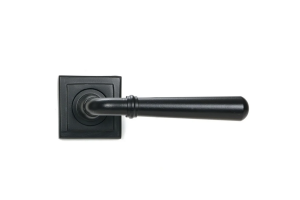
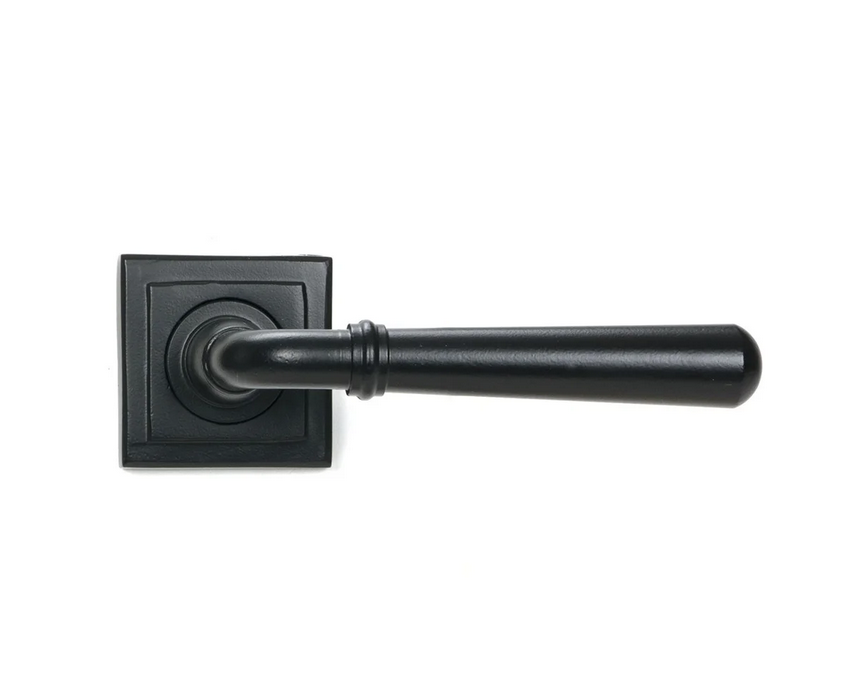
Before getting started, select a new handle that suits both your aesthetic and the function of the door. Consider the finish (like matte black, chrome, or brass), the style (lever or knob), and whether the handle needs a lock (e.g., for bathrooms or bedrooms). Also, make sure the new handle is compatible with the type and thickness of your door.
Step 2: Gather Your Tools
To replace a door handle, you’ll typically need:
-
A screwdriver (usually Phillips head)
-
A tape measure
-
Your new door handle set
-
Optional: a drill if the screws are tight or stripped
Most handle sets come with all the necessary parts, including screws, a latch, and sometimes a strike plate.
Step 3: Remove the Old Handle
Start by unscrewing the existing handle from both sides of the door. Once the screws are removed, gently pull both halves of the handle away from the door. Next, unscrew and remove the latch mechanism from the edge of the door. If you're replacing the strike plate (the metal piece on the door frame), remove that as well.
Tip: Keep the screws and parts together in case you want to reuse anything or compare with the new hardware.
Step 4: Prepare the Door
Check the alignment and size of the existing holes. Most modern handles follow standard sizing, so your new hardware should fit easily. If needed, lightly sand around the hole area to remove any paint buildup or debris for a cleaner installation.
Step 5: Install the New Latch
Slide the new latch into the hole on the edge of the door, ensuring the angled part faces the correct direction (toward the direction the door closes). Secure it with the screws provided.
Step 6: Attach the New Handle
Fit the two halves of the handle through the latch mechanism from each side of the door. Align everything carefully, making sure the spindle (the square rod that connects both sides) fits through the latch. Once everything is lined up, screw the handles into place.
Step 7: Install the Strike Plate
If your new set includes a strike plate, replace the old one on the door frame. Align it with the latch, then screw it in securely.
Step 8: Test the Handle
Open and close the door a few times to make sure the handle operates smoothly and the latch engages properly with the strike plate. If anything feels off, tighten the screws or realign as needed.
Final Thoughts
Replacing a door handle is a quick and satisfying project that instantly refreshes your space. With just a bit of time and a few tools, you can upgrade the look of any room—and enjoy that satisfying click of a job well done.